
Model Print Inspector
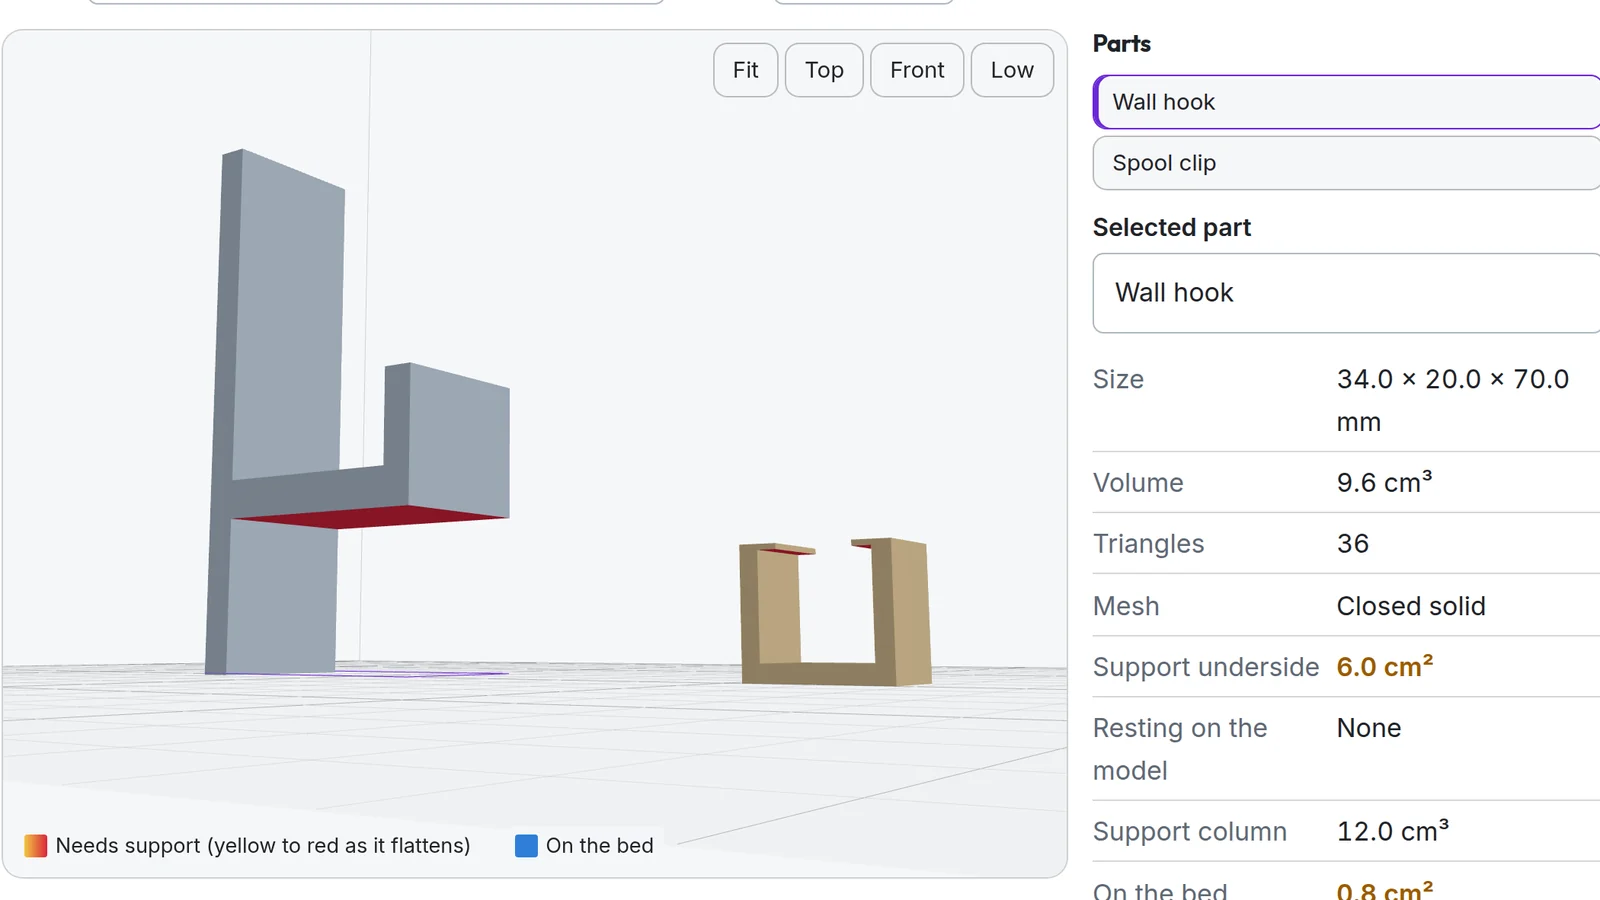
Drop in an STL or 3MF and turn it in 3D. Overhangs that need support and walls too thin to print are shaded on the model, every sensible orientation is ranked by the support it needs, and the parts go on a to-scale bed for your printer. Take the plate to your slicer as a 3MF.
1 Inspect and arrange
This browser will not keep saved work — storage is blocked, or this is a private window.
2 Take it away
The whole plate as a 3MF for your slicer, one part as an STL standing the way you chose, or the view as an image.
This browser will not keep saved work — storage is blocked, or this is a private window.
Models are read in this browser and never uploaded. The plate — each part's name, turn, scale and place — is saved here and in your account if you are signed in; the model files themselves stay in this browser only, because they are large. The 3MF download carries the whole plate with its models.
A face needs support when it is tipped further from vertical than the support angle you set; 45° is the usual starting point, so match it to your slicer's support setting. Support area is the underside that will come off rough. The column figure is the space from each overhang straight down to the bed or to the part below it, before your slicer's support density is applied. Flat undersides held at both ends are counted even though a slicer may bridge them, so both figures are upper bounds.
Wall thickness is measured straight through the part from each face. A wall thinner than the nozzle may be left out by the slicer entirely, and one thinner than two lines prints as a single line or gap fill; PrusaSlicer's "Detect thin walls" and Cura's minimum wall line width settings exist for that case. Footprints on the bed are the parts' boxes, so parts that nest are reported as overlapping.
Strength along the layers, bed adhesion, warping and cooling are not judged here. Slice it and look at the preview before a long print.
Your copy
Download everything saved in this browser, or restore a backup on this device.